
65/425 Inner member of open frame screwed to wall and supported, and back scene.
Without a firm foundation nothing can be built. In his section I show how I set about constructing one for Hintock. First covered is the constructing the open frames and baseboard, then the basic superstructure.
As this is a semi-permanent layout I could use a structure secured to the walls to support the baseboard and as the house is of framed timber construction this was easy enough, More so as the layout is in my home office I wanted it to look tidy and to have access to the book shelves below. Equally I wanted it capable of being easily dismantled and re-erected in case of a house move, and that did prove to be so when with a similar arrangement I moved from Montana to Utah and brought my HO Providence River Branch. Had it been built on a permanent baseboard firmly affixed to supports the layout could not have been dismantled and re-erected.
So I built an open frame out of 3”x 1” timber with the inner frame screwed to the walls and the outer edge supported by lengths of 1,1/4” closet rod. This height is 3’8” and on which independent baseboards sit making a final height of about 48″. That I find, for my height, convenient. Once it was installed I added the simple hand painted back scene but left the coving in the corners until later. That I did with thin card painted to match as shown adjacent in picture 65/425.
The base boards are of a handy size (large unwieldy and unnecessarily heavy baseboards are a pain as I have learned the hard way) I built in the traditional manner of 2”x1” timber and with a surface of ¼” plywood to which I glued 12” square cork tiles. On these I drew a 9” grid to aid setting out. In use these boards are held together by clamps that allow a certain amount of ‘wiggle’ in a horizontal alignment. A useful feature.
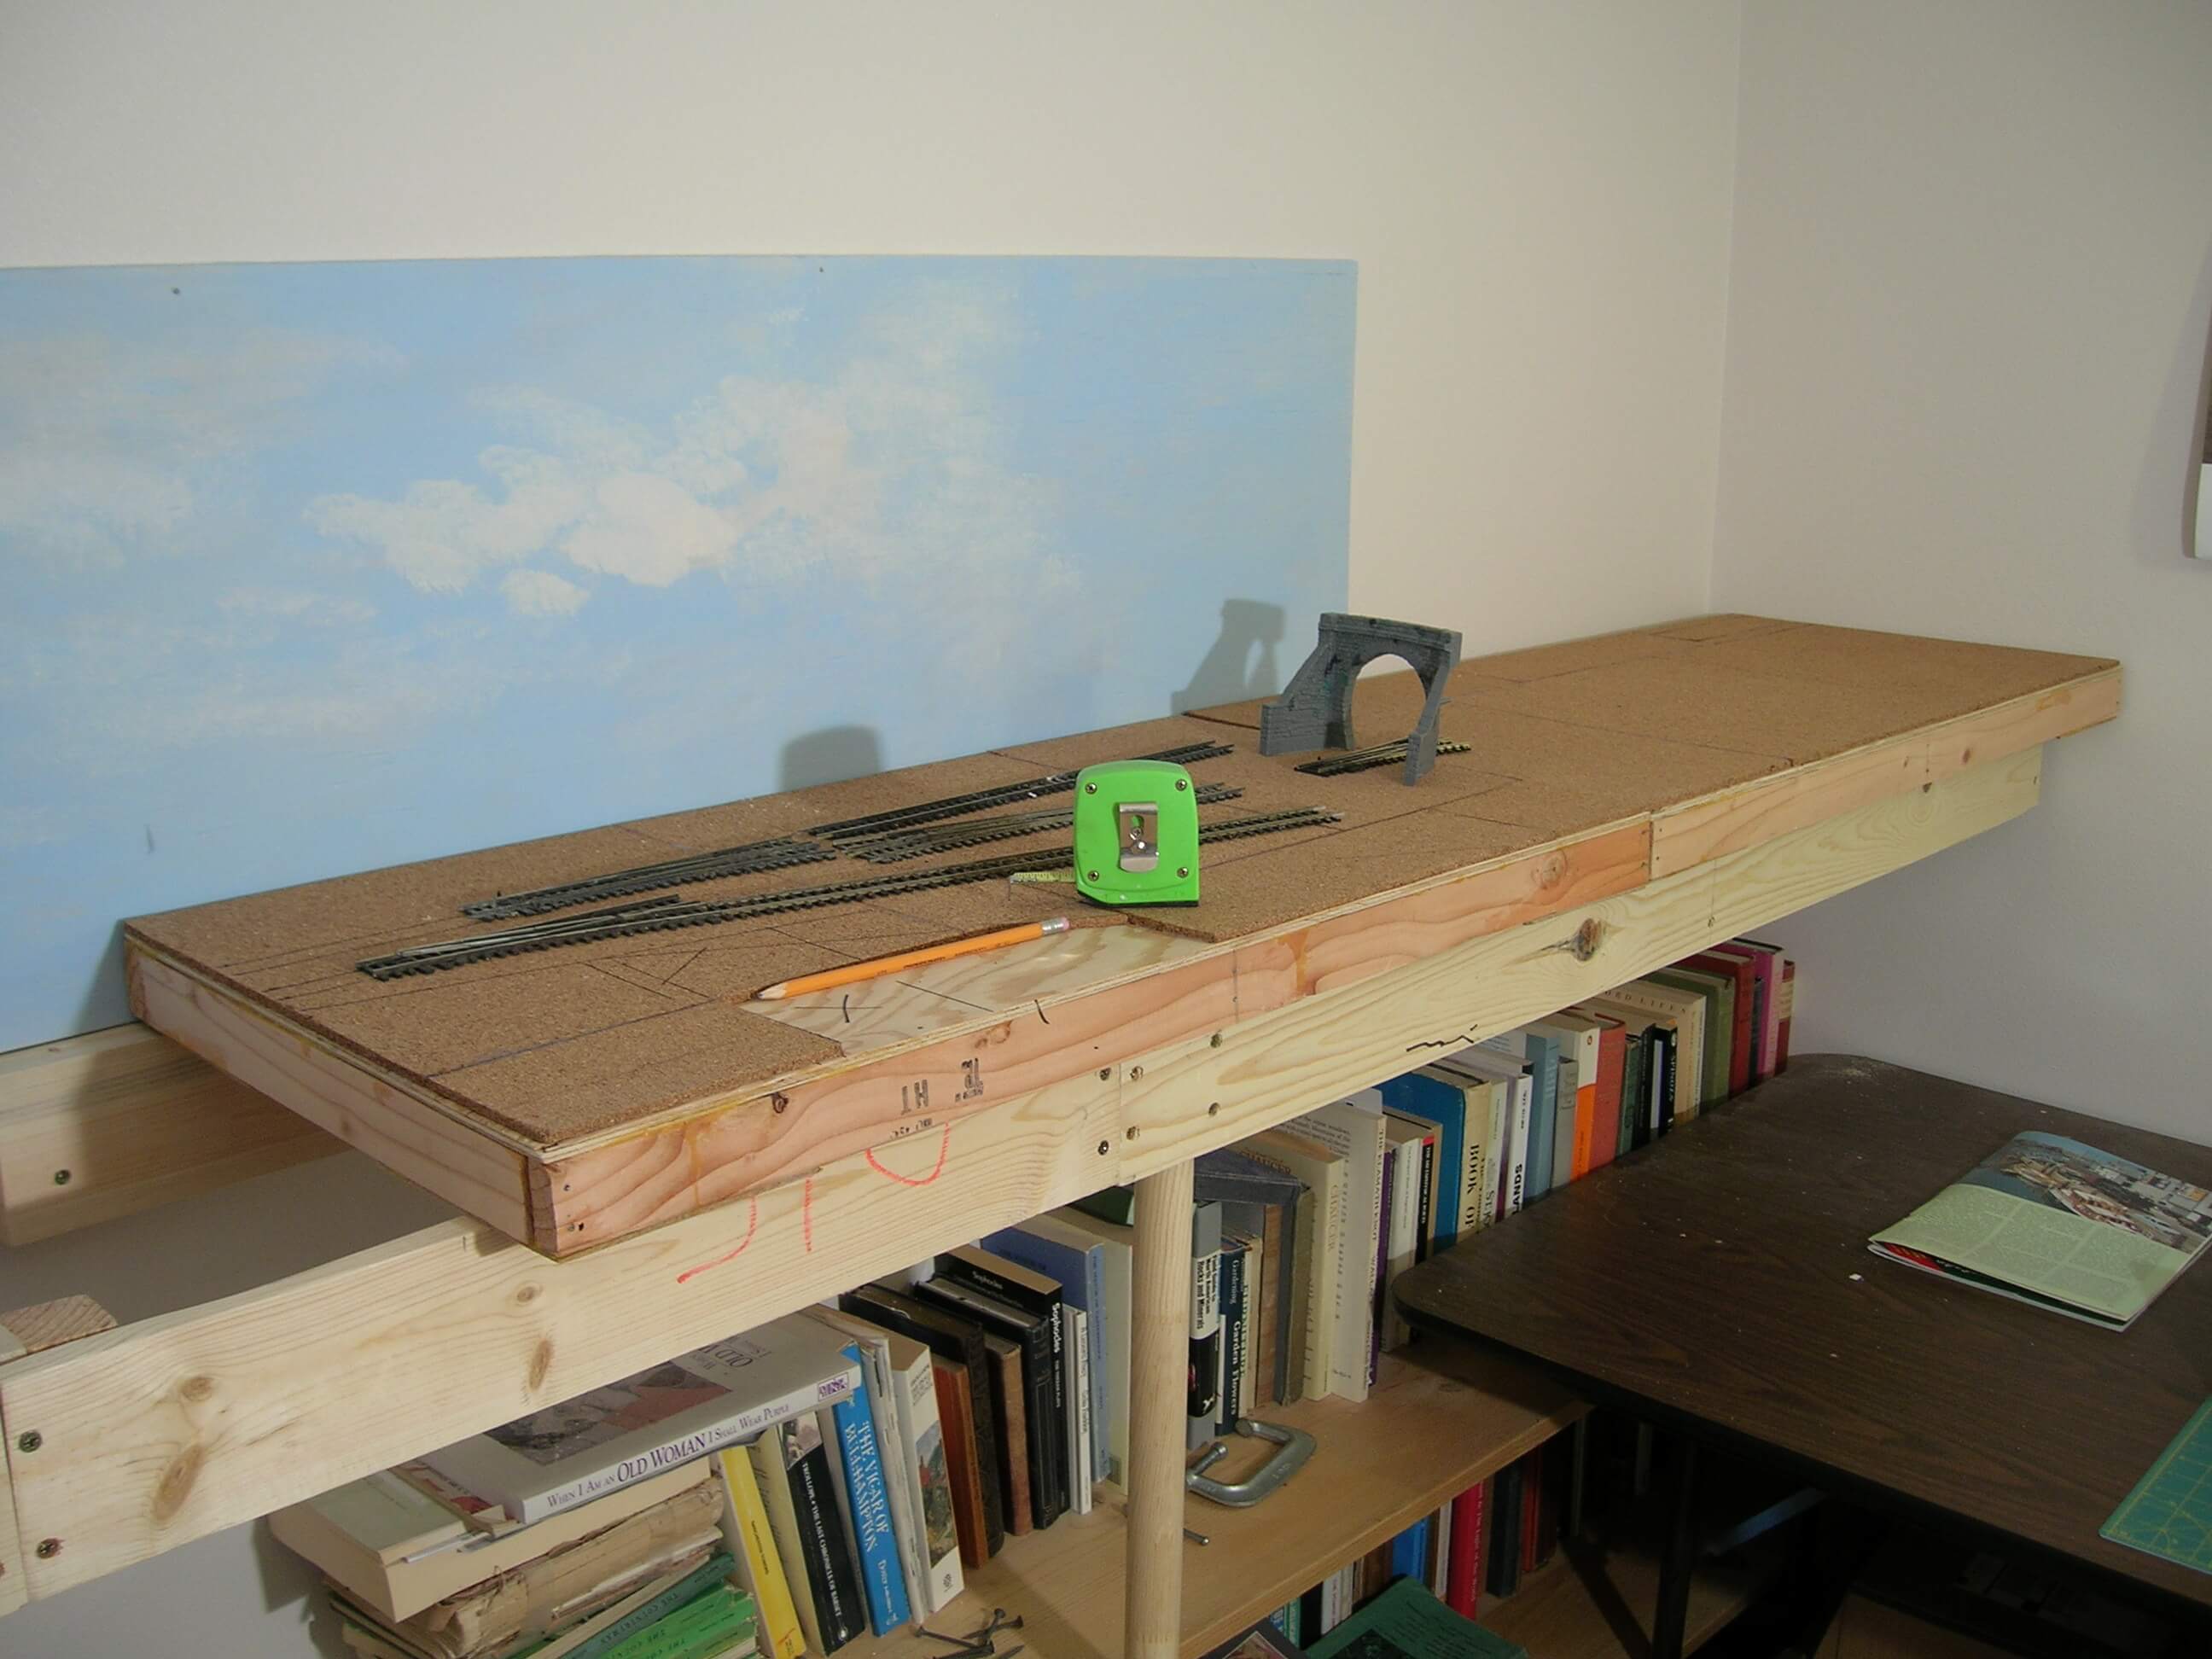
65/428 RH end of frame with baseboard resting on showing loosely arranged track laid on gridded cork surface.
On the right hand side the baseboards rest on 12″ shelf brackets. These were screwed to a 3″x1″ face plate itself secured to a wall stud. They not only support the 12″ wide Sheepcroft Yard extension shown but the 18″ wide Staging Yard. They are held together for more rigidity by nuts and bolts.
To the lower side of the baseboards I add a 4″ shelf, that provides a place for essential things like the shunting pole but more important for loose items that otherwise would untidily be placed on the layout.
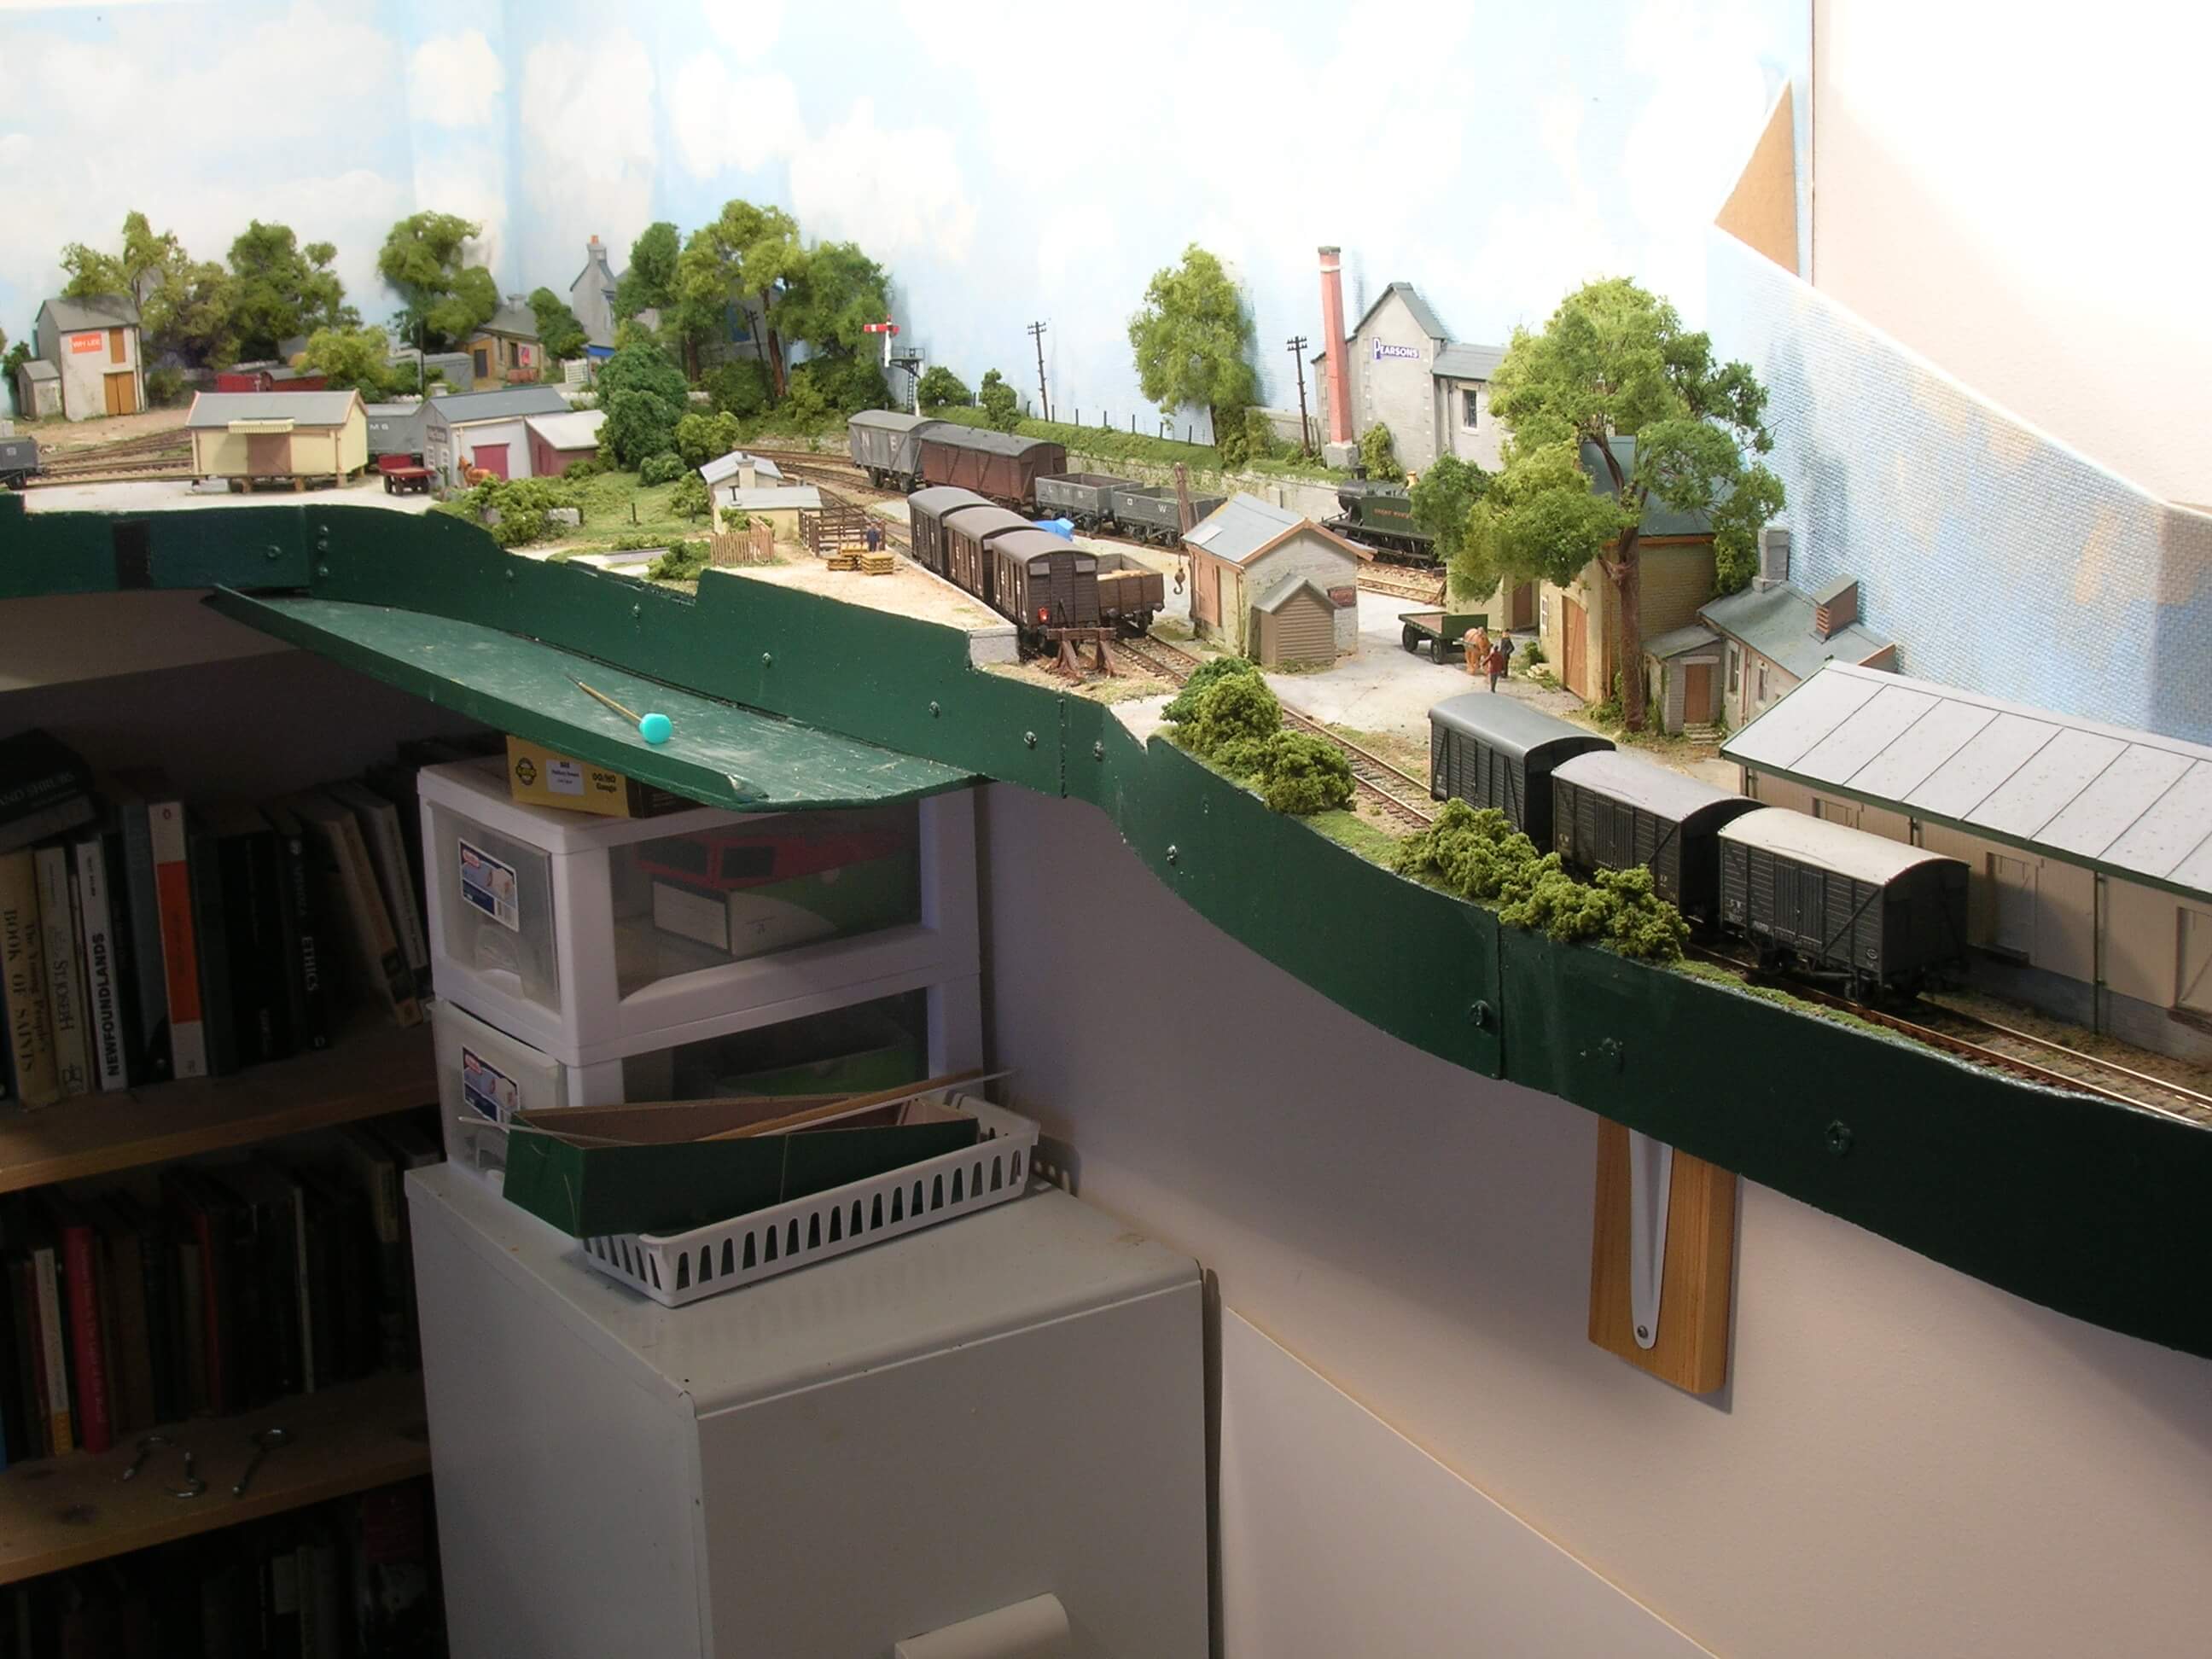
RMe 01 The Sheepcroft Yard extension resting on shelf brackets.
Speak Your Mind